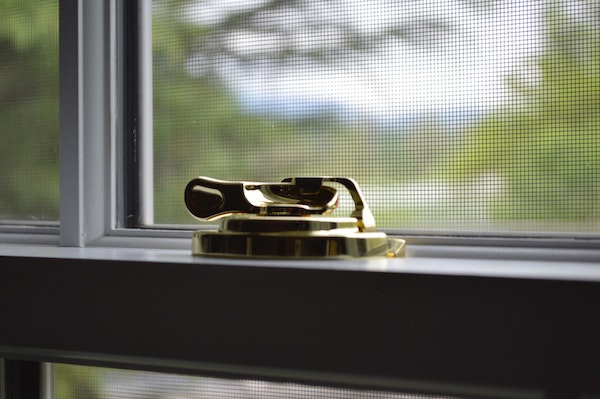
How to Repair a Window Screen
 Late winter is the perfect time to do some easy DIY projects that will get your home ready for warmer weather to come. Here at Best Handyman, we are your go-to resource for expert handyman services in Milwaukee and surrounding areas, but if you’re looking to do some projects yourself, fixing a broken window screen is a great place to start.
Window screens are a great way to invite fresh air indoors while keeping pests out. They are also prone to rips, tears, shrinking, and warping. Luckily for the home DIY-er, this is an easy fix with a few simple tools.
Here is our handy guide to repairing or replacing a torn window screen:
Before you start: If the original spline on your aluminum window frame is in good shape and able to be fitted back into place, keep it. If not, you can purchase a new one at the hardware store.
Determine whether you need to repair or replace
If you notice a minor rip, tear, or hole in your window screen, you may be able to perform a simple repair rather than replacing the whole screen. If the rips or tears are extensive, or the screen has shrunk or warped in the frame, you will want to replace the screen entirely.
Step 1: Gather your tools
For repairs on minor rips, tears, or holes, you will need the following tools and materials:
- Measuring tape (to measure the size of the hole or tear and determine the size of patch you’ll need)
- Window screen patch at least 1 inch larger than the hole or tear on all sides
- Waterproof glue
Step 2: Measure the size of the hole or tear. Make sure your patch is larger than the hole or tear.
Step 3: Place the window screen patch over the hole or tear and make sure the entire affected area is covered and the material lays flat over the rest of the screen.
Step 4: Use waterproof glue to secure all edges of the patch to the window screen material. Use glue sparingly and wipe away excess immediately.
Replacing a window screen
Step 1: Gather your tools
To replace a majorly ripped, warped, or shrunken window screen, you will need the following tools and materials:
- Phillips head screwdriver or slot tool
- (If working with a wood window frame) Needle-nosed pliers and hammer
- Roll of new screen material large enough to cover the entire frame with several inches overlap on all sides
- (If working with an aluminum window frame) Spline (if necessary) and spline roller
- (If working with a wood window frame) Wire brads
- X-acto knife or sharp scissors
Step 2: If working with an aluminum frame, grab your Phillips head screwdriver (or slot tool) and pry the screen spline free from the crease around the perimeter of the window frame.
If working with a wood frame where the screen material is nailed into place, remove the wire brads affixing the material to the frame using needle-nosed pliers and the claw end of a hammer and remove material.
Step 3: Stretch the new screen material tautly across the window frame. The material should overlap the frame on all edges by several inches. Thumbtack or staple material into place over the window frame.
Step 4: If working with an aluminum window frame, use the spline roller tool to press the spline and new screen material into the crease.
For a wooden window frame, affix the new screen material to the outer edge using wire brads.
Step 5: Using an x-acto knife or sharp scissors, trim the extra window screen material from around the perimeter of the frame.
While repairing or replacing a window screen is a relatively easy do-it-yourself project, there are lots of home repair, maintenance, and improvement tasks that are best done by a professional. At Best Handyman, we are proud to provide people in Milwaukee and surrounding communities with expert services, no matter the project. Give us a call for a FREE estimate today.
